8. Webhooks and Automation
Now that we have created an appealing format to our website, we are ready to automate the process.
One way to automate the building of a website is to take advantage of freely available websites called “git repositories” that allow collaborators to share code/text/images in a simple to use format. Github and bitbucket are just two of these publicly available repositories. Each repository has their own quirks. I prefer bitbucket because I can easily create a webhook that matches one of the bootswatch formats with just a few additional steps. Also, many of my collaborators are on bitbucket. Github is nice as well, because it has added many user friendly features such as drag and drop for file uploading from a desktop (useful for this tutorial) and allows for the creation of webpages by simply adding a branch called “gh-pages”.
9. Create a Repository
You do not have to do this twice, it is okay to pick one or the other. Ask your collaborators which one they prefer, it is often easier to share within a repository than across them for general maintenance and lack of duplication.
bitbucket.org github.org
In order to communicate with your remote repository, you may need to add git to your local computer.
Windows git: https://git-scm.com/download/win
Mac git: http://git-scm.com/download/mac
Create a file directory to hold your repository.
mkdir local/repo/folder
cp myfile.rst local/repo/folder/
If you didn’t complete the earlier tutorial, you can get some example rst text here:
http://www.southampton.ac.uk/~fangohr/computing/rst/rst.txt
Copy and paste the text into myfile.rst. You can either use nano or the web interface to create files from scratch. Not all the links will work, since we only borrowed the text and not the images.
Once you create your repository folder on your local computer, copy your .rst file into that location and push it to the repository. You also want to create a simple README.rst file to describe the repository.
For example:
nano README.rst

=========================================
Example ReStructuredText (rst)
=========================================

This is my project, created this day.

************
Author
************
Your name

Please contact me at my github/bitbucket account, here are the details.....

Control-X to close the file
9.1. Bitbucket version
If you need to create a repository on bitbucket, got the top of the page (after signing in) and choose the dropdown tab “repositories”. Select “create a repository” and follow the instructions.
Uncheck private repository when setting this up, or else you won’t be able to webhook to readthedocs.org .. ..
cd local/repo/folder/
git init
git remote add origin git@bitbucket.org:yourbitbucketname/yourrepository.git
git add myfile.rst
git add README.rst
git commit -m 'Sending myfile.rst and README.rst to the remote repository'
git push origin master
9.2. Github version
Github also has a dropdown box you can find by going to your profile (click on the avatar in the upper right or choose your name at the top of any github page). Choose the green “New” button, and make sure to keep the repository public as you create it. .. ..
cp myfile.rst local/repo/folder/
cd local/repo/folder/
git init
git remote add origin https://github.com/yourgithubname/yourrepository.git
git add myfile.rst
git add Readme.rst
git commit -m 'Sending myfile.rst and README.rst to the remote repository'
git push origin master
Check your remote bitbucket or github to see if the file appeared. If it is not working from your local computer, you can always create files in the web browser. Just remember to “commit” after making any changes in those files online. If you make changes online before you do locally, make sure to do the following to bring those updates to your computer.
git pull origin master
If you make any changes locally remember to commit and push them to the remote repository.
git commit -m 'I changed my README.rst file'
git push origin master
Once a file has been added, you don’t need to add it a second time to make changes. As long as you don’t change the name of the file, git can track any changes you have made. However, the local and remote repositories don’t talk to each other automatically, so remember to do those git pushes and pulls to keep your edits up to date.
Before we move on, make sure you have the following two files in your remote git repository:
README.rst
myfile.rst
And, any other files you have added.
10. Readthedocs.org
Both github and bitbucket allow “webhooks” with readthedocs.org. A webhook recognizes when you have made a change to your git repository and automatically updates the website at readthedocs.org. Website naming is based on your project, so it is easy to create website names that match your project. However, if someone has taken that name already, it is not so easy to claim it. However, readthedocs.org regularly removes unused and untended webpages, so unused page names become available on a regular basis.
In order to complete the next part of the tutorial, please sign up for a free account at readthedocs.org.
After signing up, make sure readthedocs can find your bitbucket and github repositories.
Find the upper right tab on the readthedocs page, and select “settings” in the dropdown box. Select the second tab in the middle of the page, labeled “Connected Services”. Once you click on that tab, buttons for github and bitbucket will appear at the bottom of the page. I have both set up on my account, since I publish websites sourced from both repositories. :: ::
.. image:: images/rtdsettings.png
width: 500 px align: center
Click on the profile tab in the upper right corner, choose projects from the dropdown tag. Find the import button at the top of the list of projects and click on it. The import list will look for any repositories that you have linked to readthedocs.org
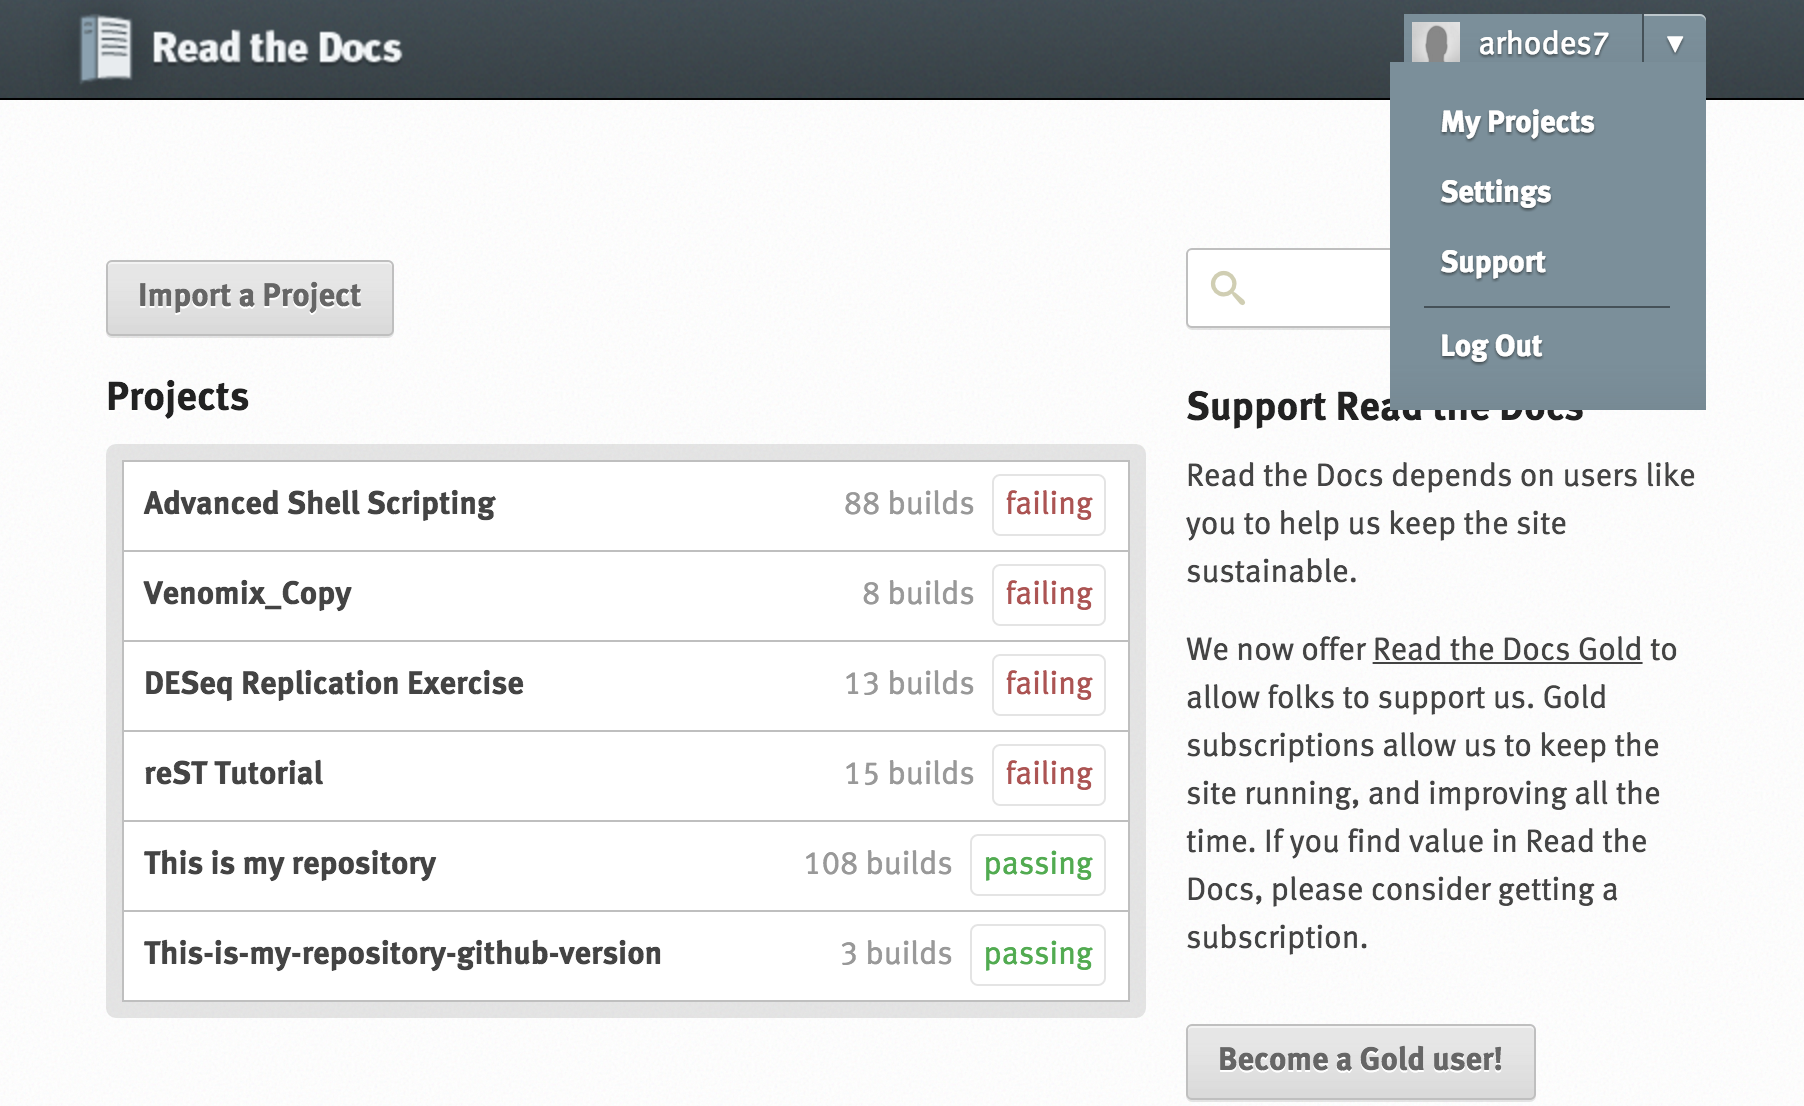
Pick one and import it into readthedocs.org. Leave all settings the same as the default.

Note that before the build, there is a notice on the right side that says “No builds yet”.
The Project Privacy Level is public.
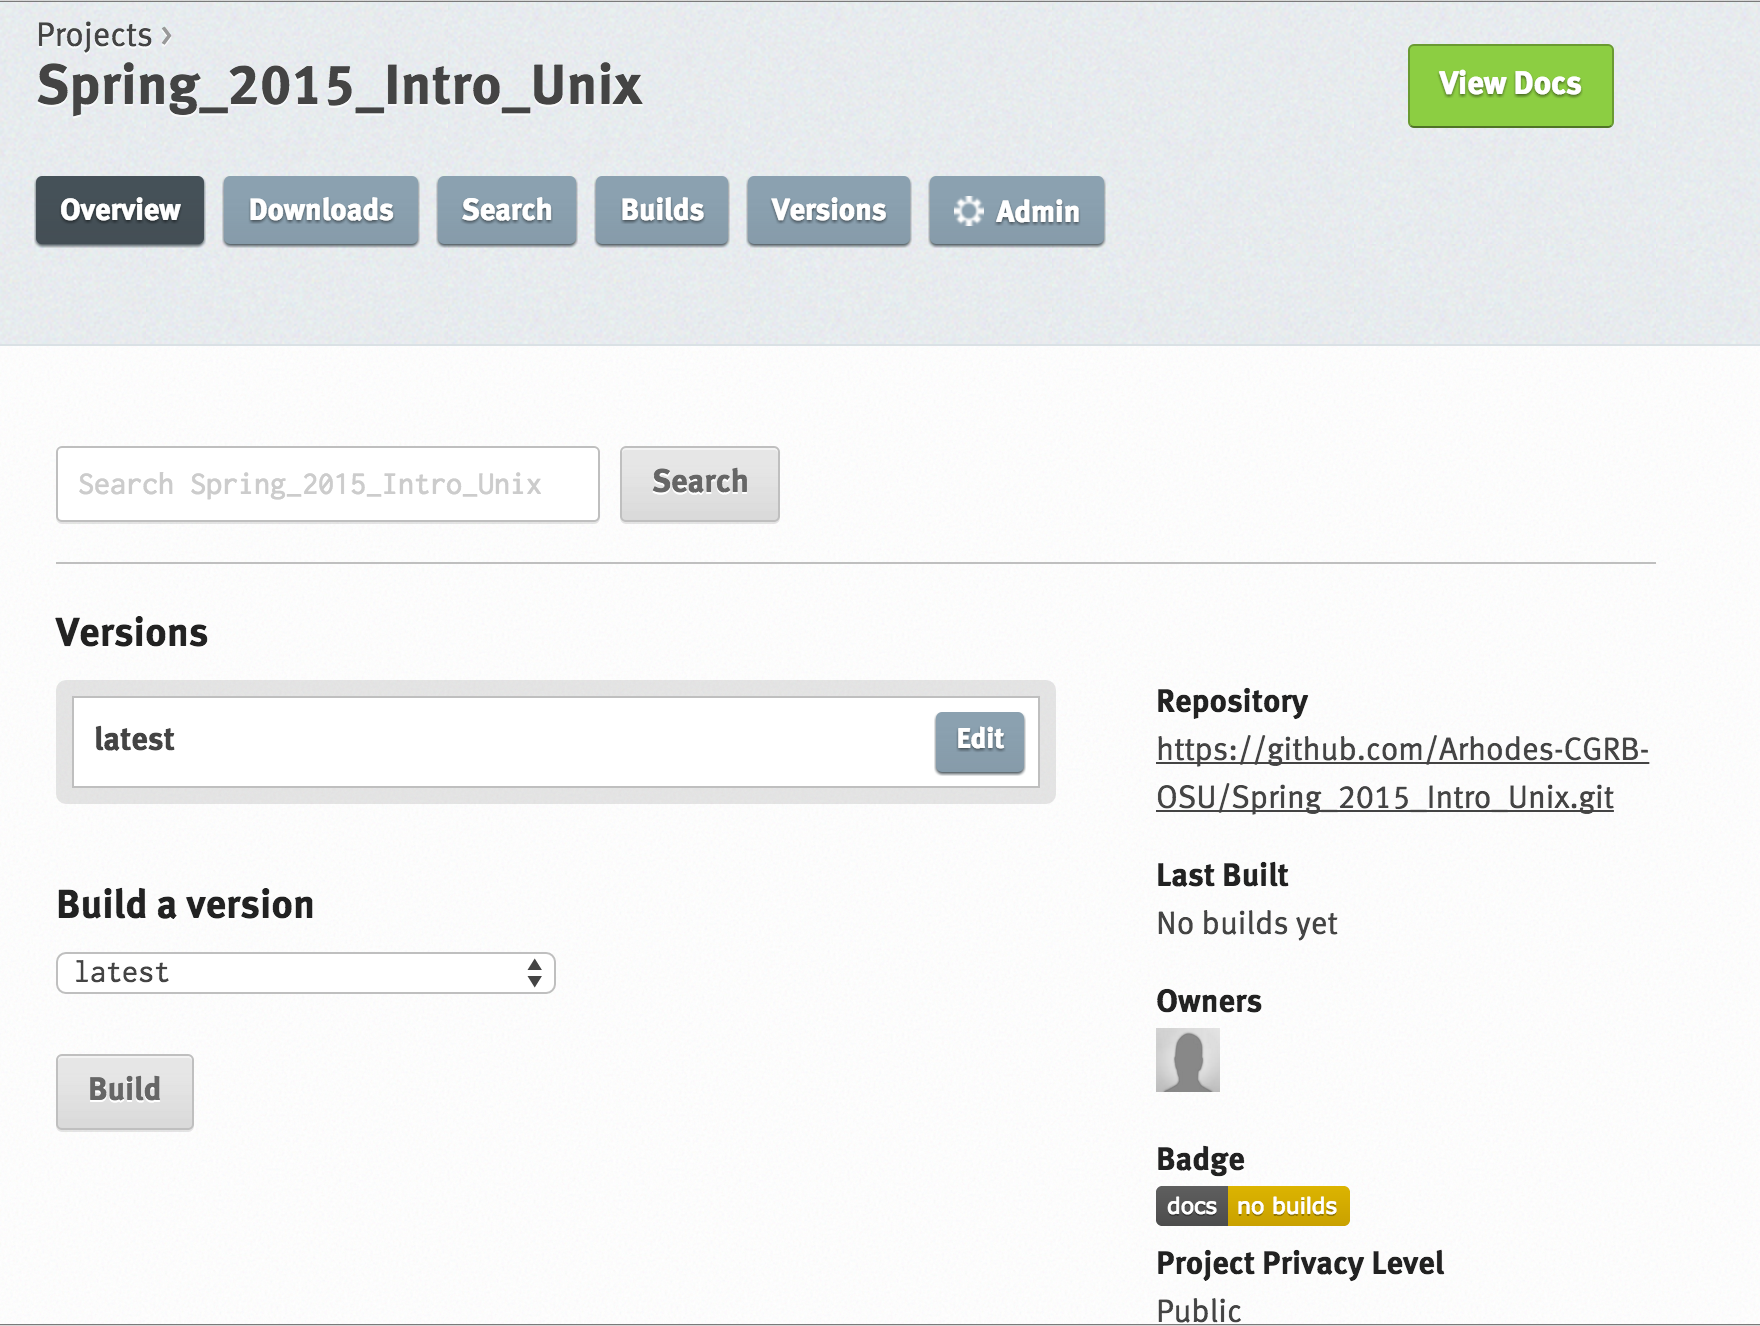
Click on the “Build” button in the middle of the screen.
You should see a table that tells you how your project is proceeding. If you click on the “Triggered”, “Passed” or “Failed” notice, it will show details of progress.
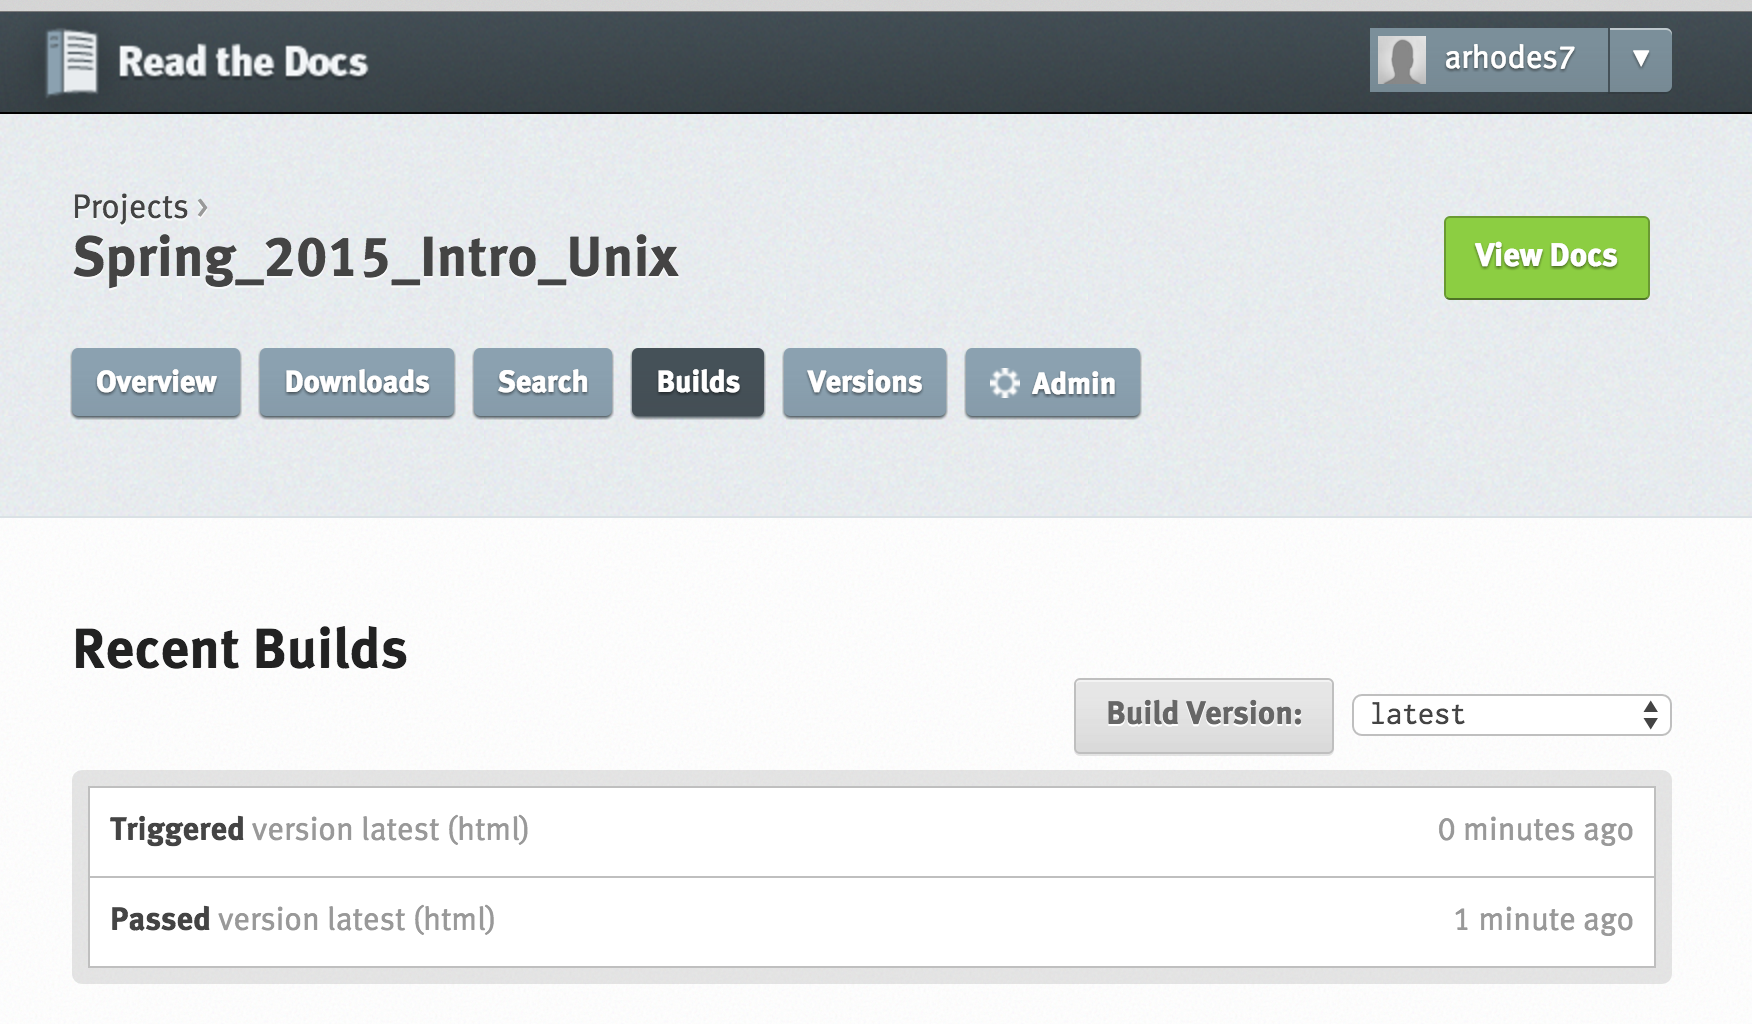
After the build is finished, click on the green “View Docs” button in the upper right corner.
If you see a mistake on the page, you can go directly to github or bitbucket by clicking on the link. Every time you make an adjustment, readthedocs.org will read it and update the page.
Try that now – go to your git repository and make a change. After you return to readthedocs.org, make sure to go to your repository overview page and rebuild the document.
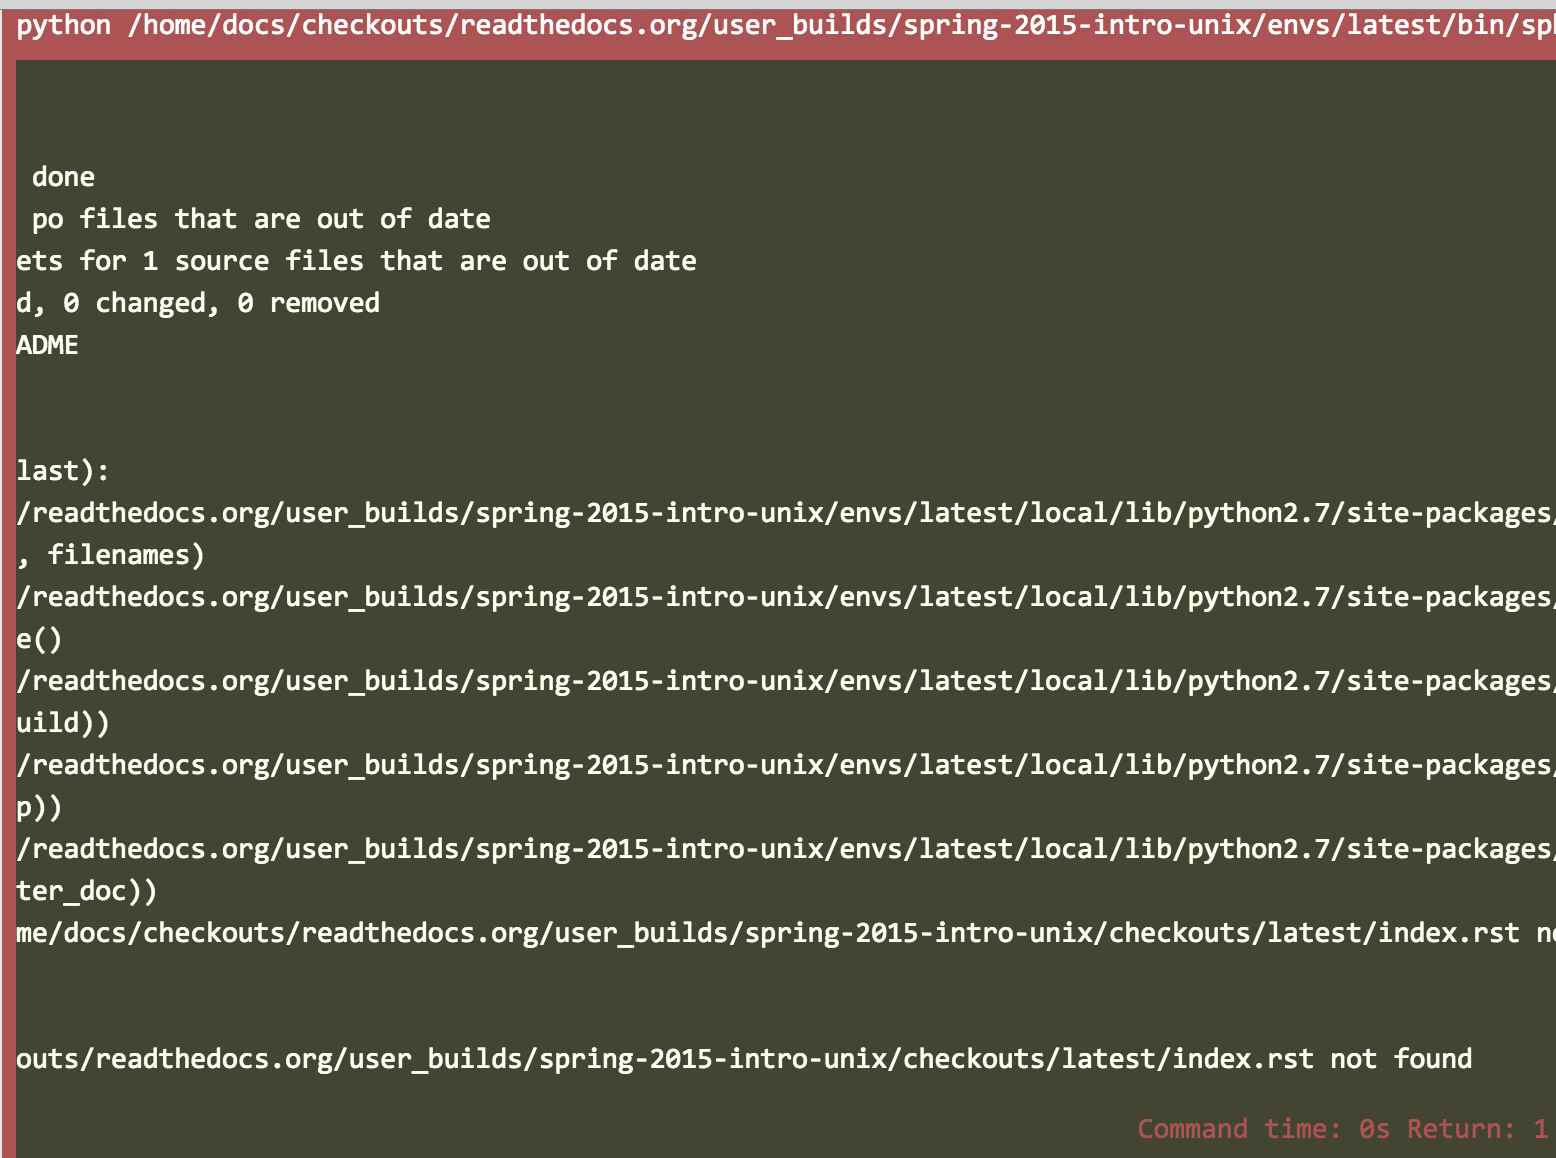
You will probably get this error, since we have not created a file called “index.rst”.
This is a new bug I recently (Feb. 2016) noticed with readthedocs.org webhooks. It will not recognize a README.rst, it is looking for an index.rst. This is similar to the front page of website.
Let’s make an index.rst and have it point at our other two files. In our local directory we can use our text editor, or do it directly from command line. Or, we can open a file on the website of our repository directly.
nano index.rst

.. toctree::
:maxdepth: 2
:numbered:
:titlesonly:
:glob:
:hidden:

README.rst
other.rst

###################
My project's index
###################

If your are lost, here is where to start: :doc:`README`

You can find more information at :doc:`other`

Control-X to close the file
Return to readthedocs.org overview page for your project and click “build”.
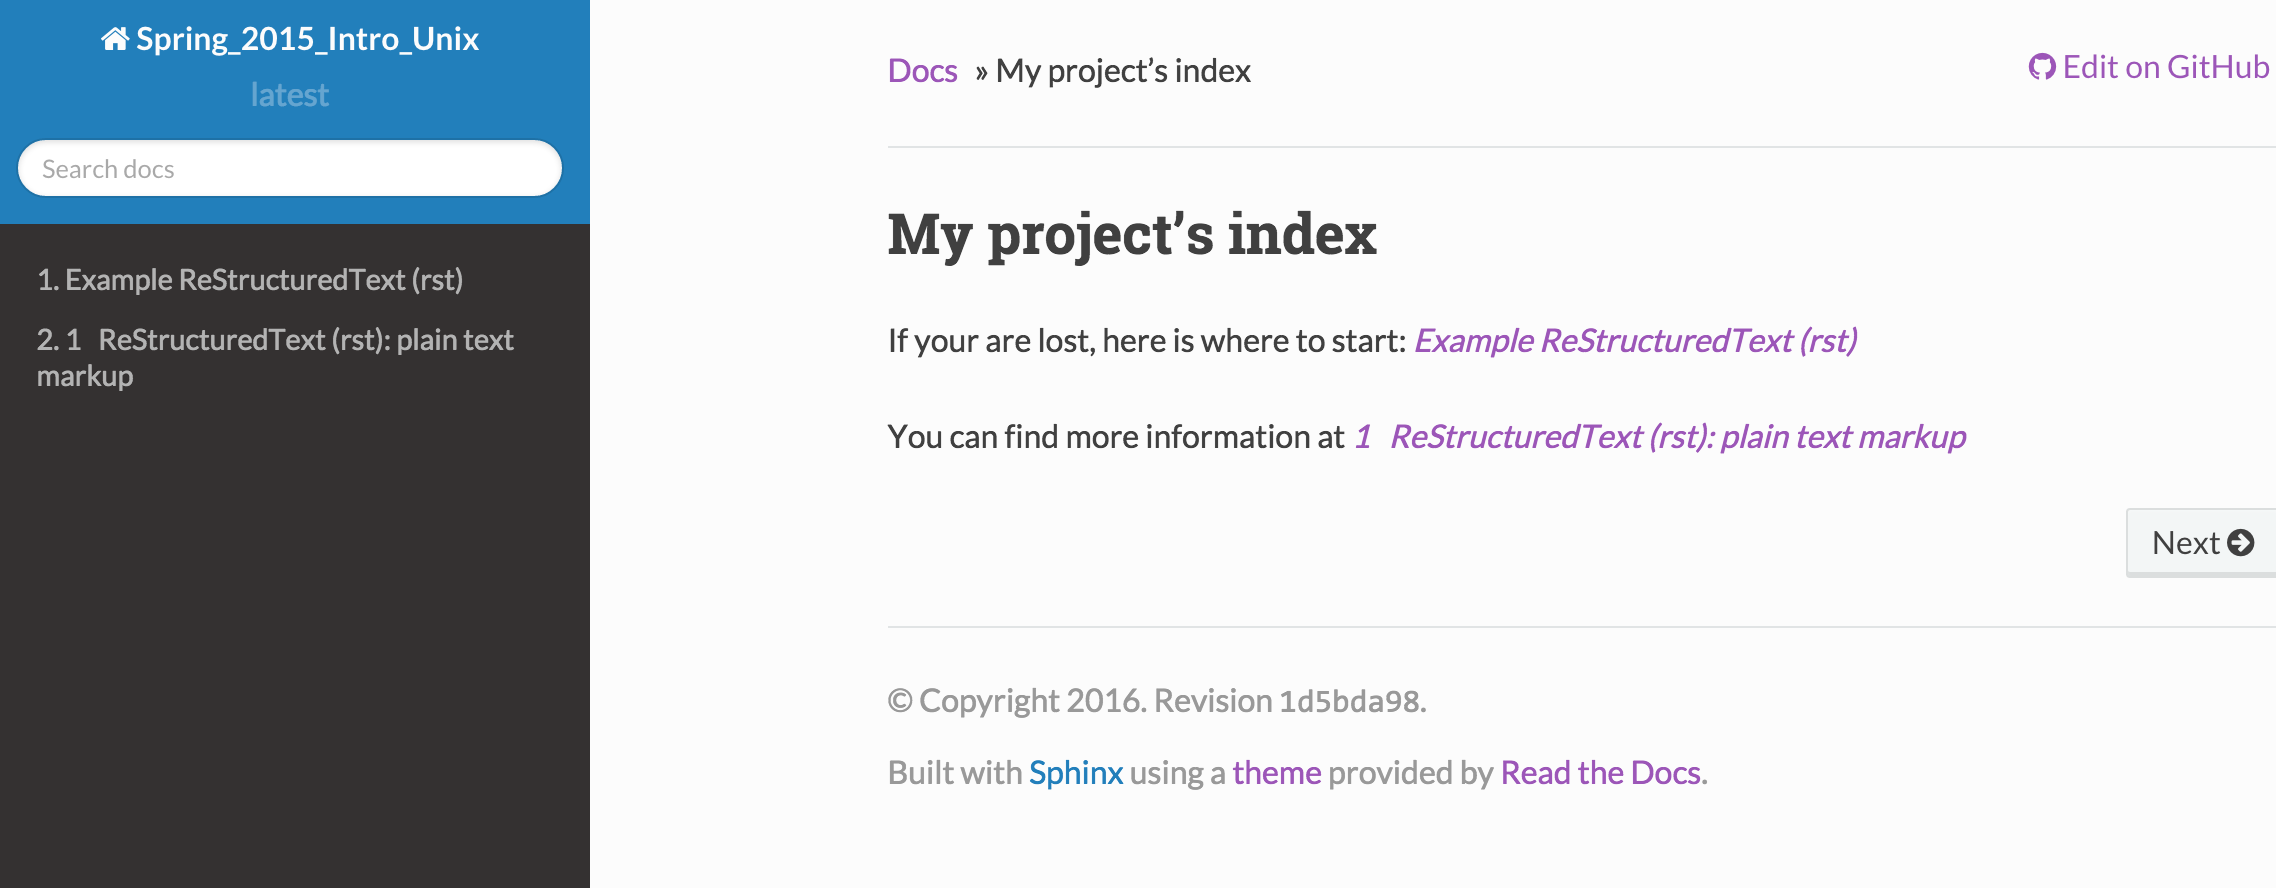
This looks more reasonable. We now have some navigation options on the side bar and inside the body of the text itself.
11. Automating the Web Hook
Until now, we have been manually returning to the readthedocs.org page to click on the build button after every change in our repository. There are two steps we can take to automate the process. Because Readthedocs.org is so popular, it is listed as one of the webhooks already offered as a service in both of the repositories we are using for our documents.
Find the settings page inside your repository.
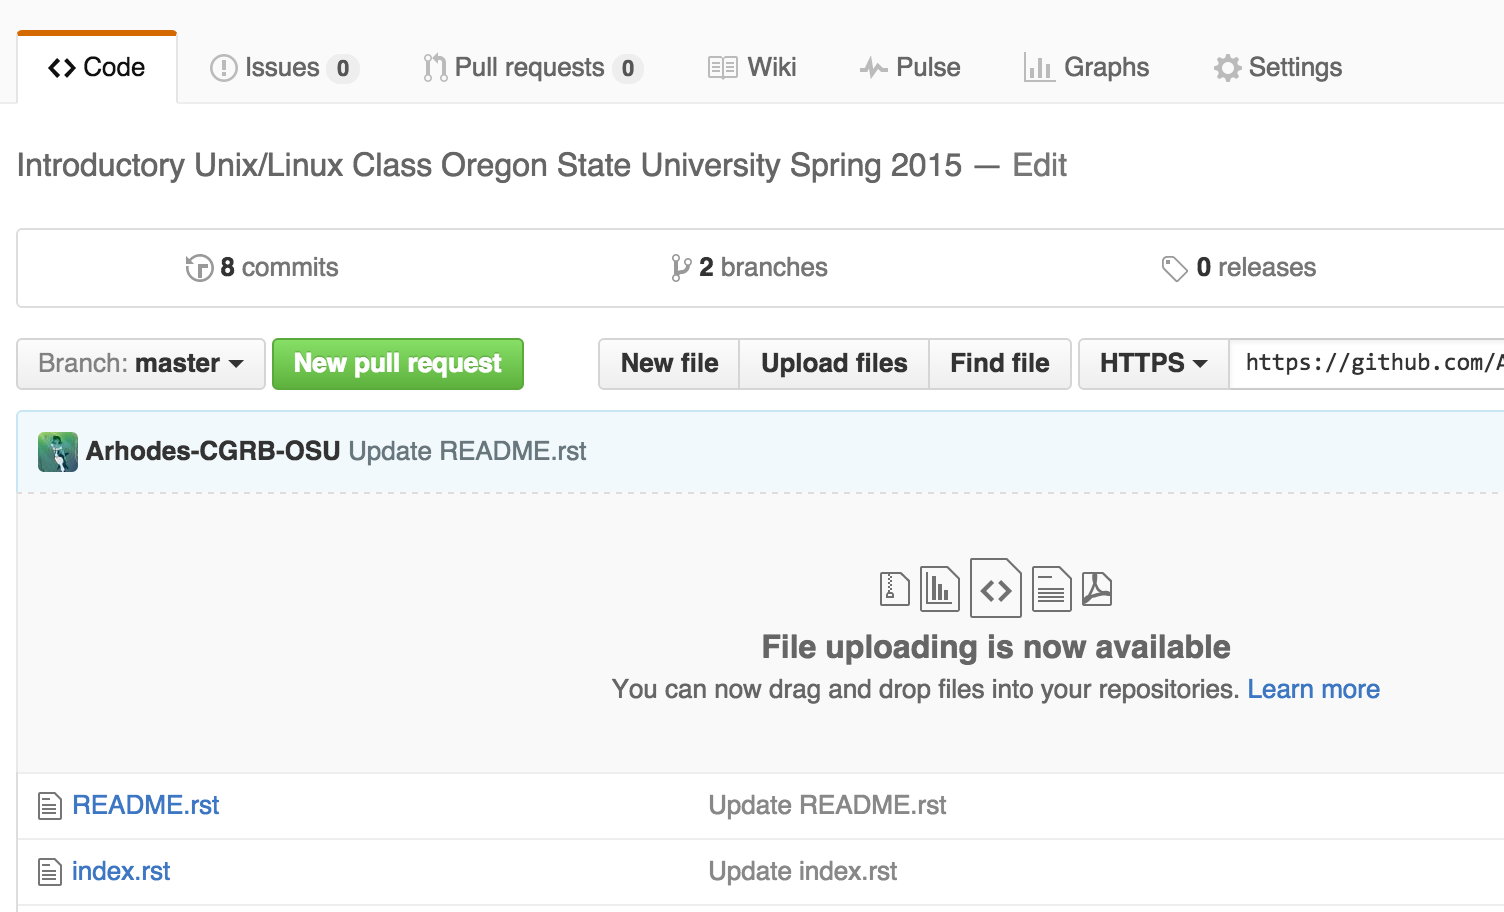
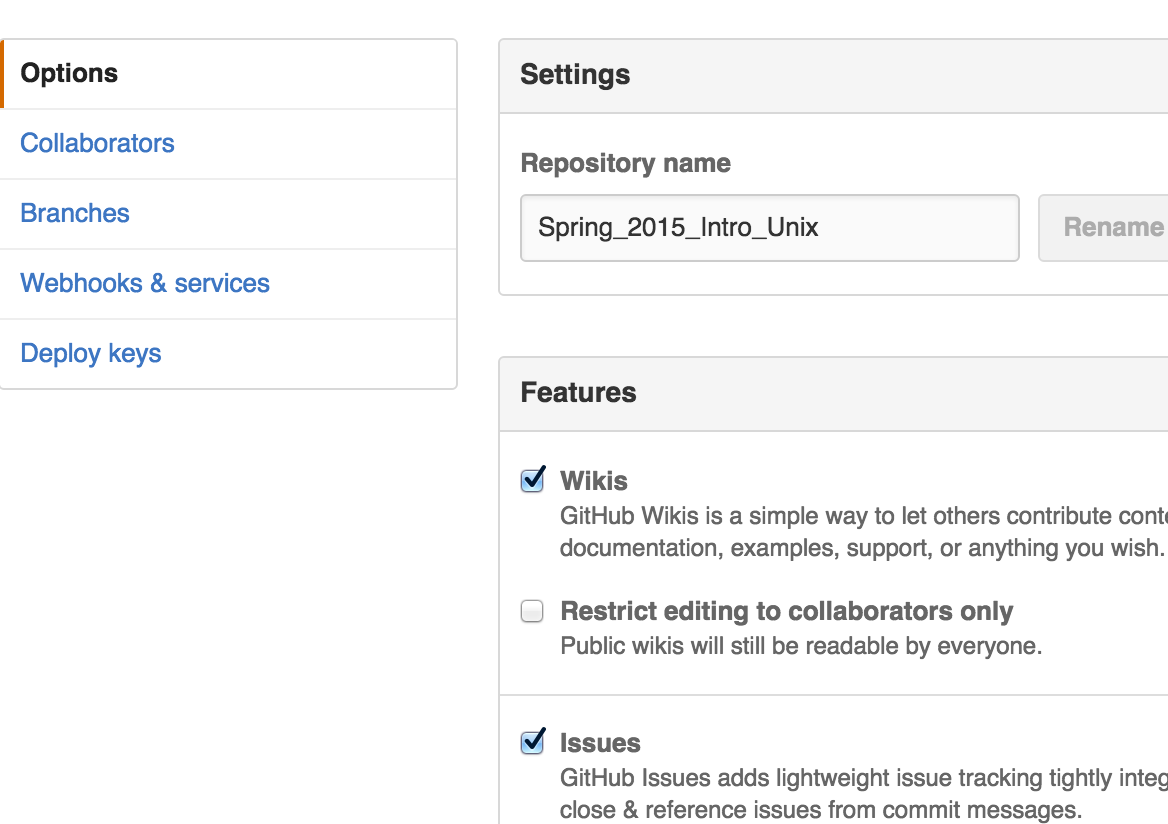
On the left side of the page, choose the Webhooks & services tab.
In the bottom box, choose “Add Service” and drop down to Read the Docs.
On the left side of the page, choose the Webhooks & services tab.
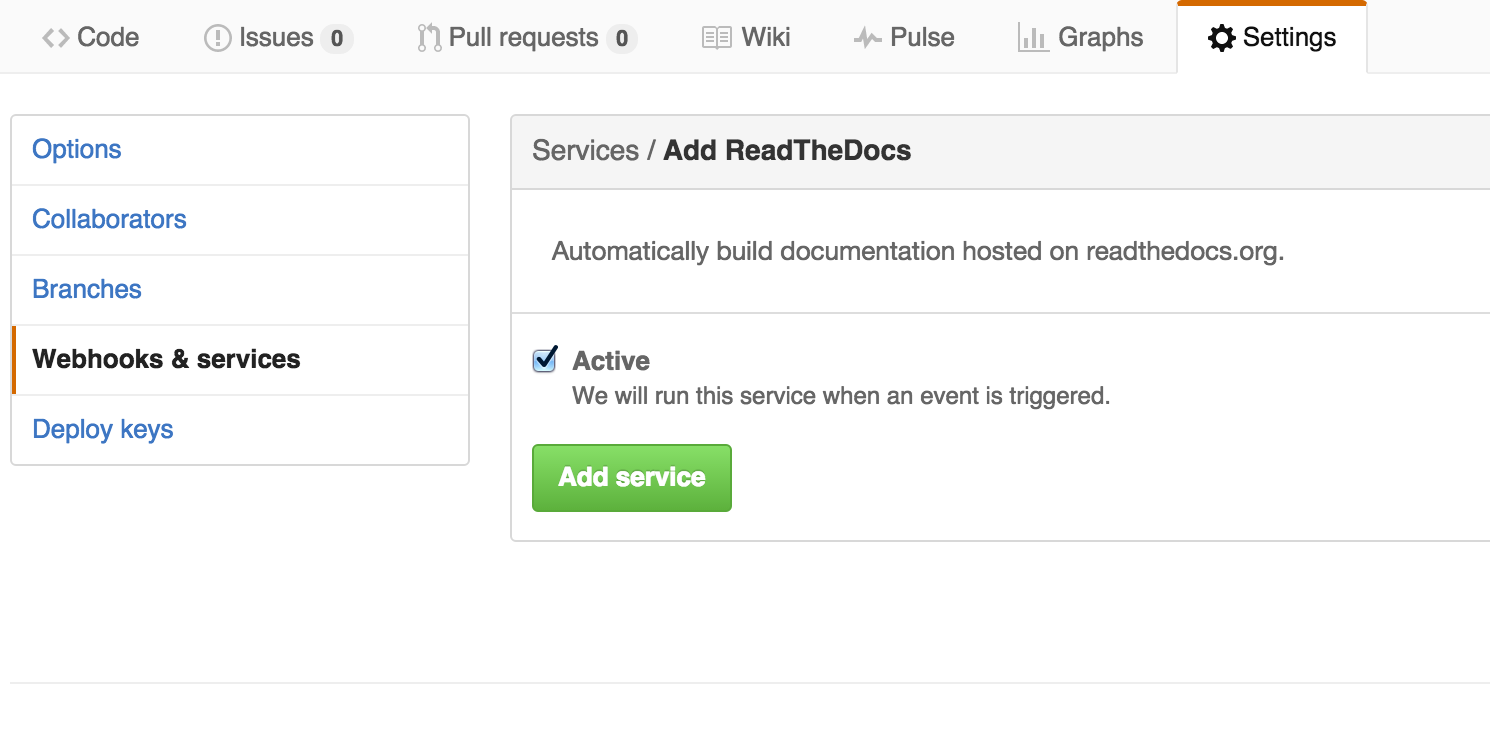
Press the “Add Service” button.
Every time you update your git from now on, it will trigger a build in readthedocs.org.
Try it. Change something and check the result.
The process is very similar.
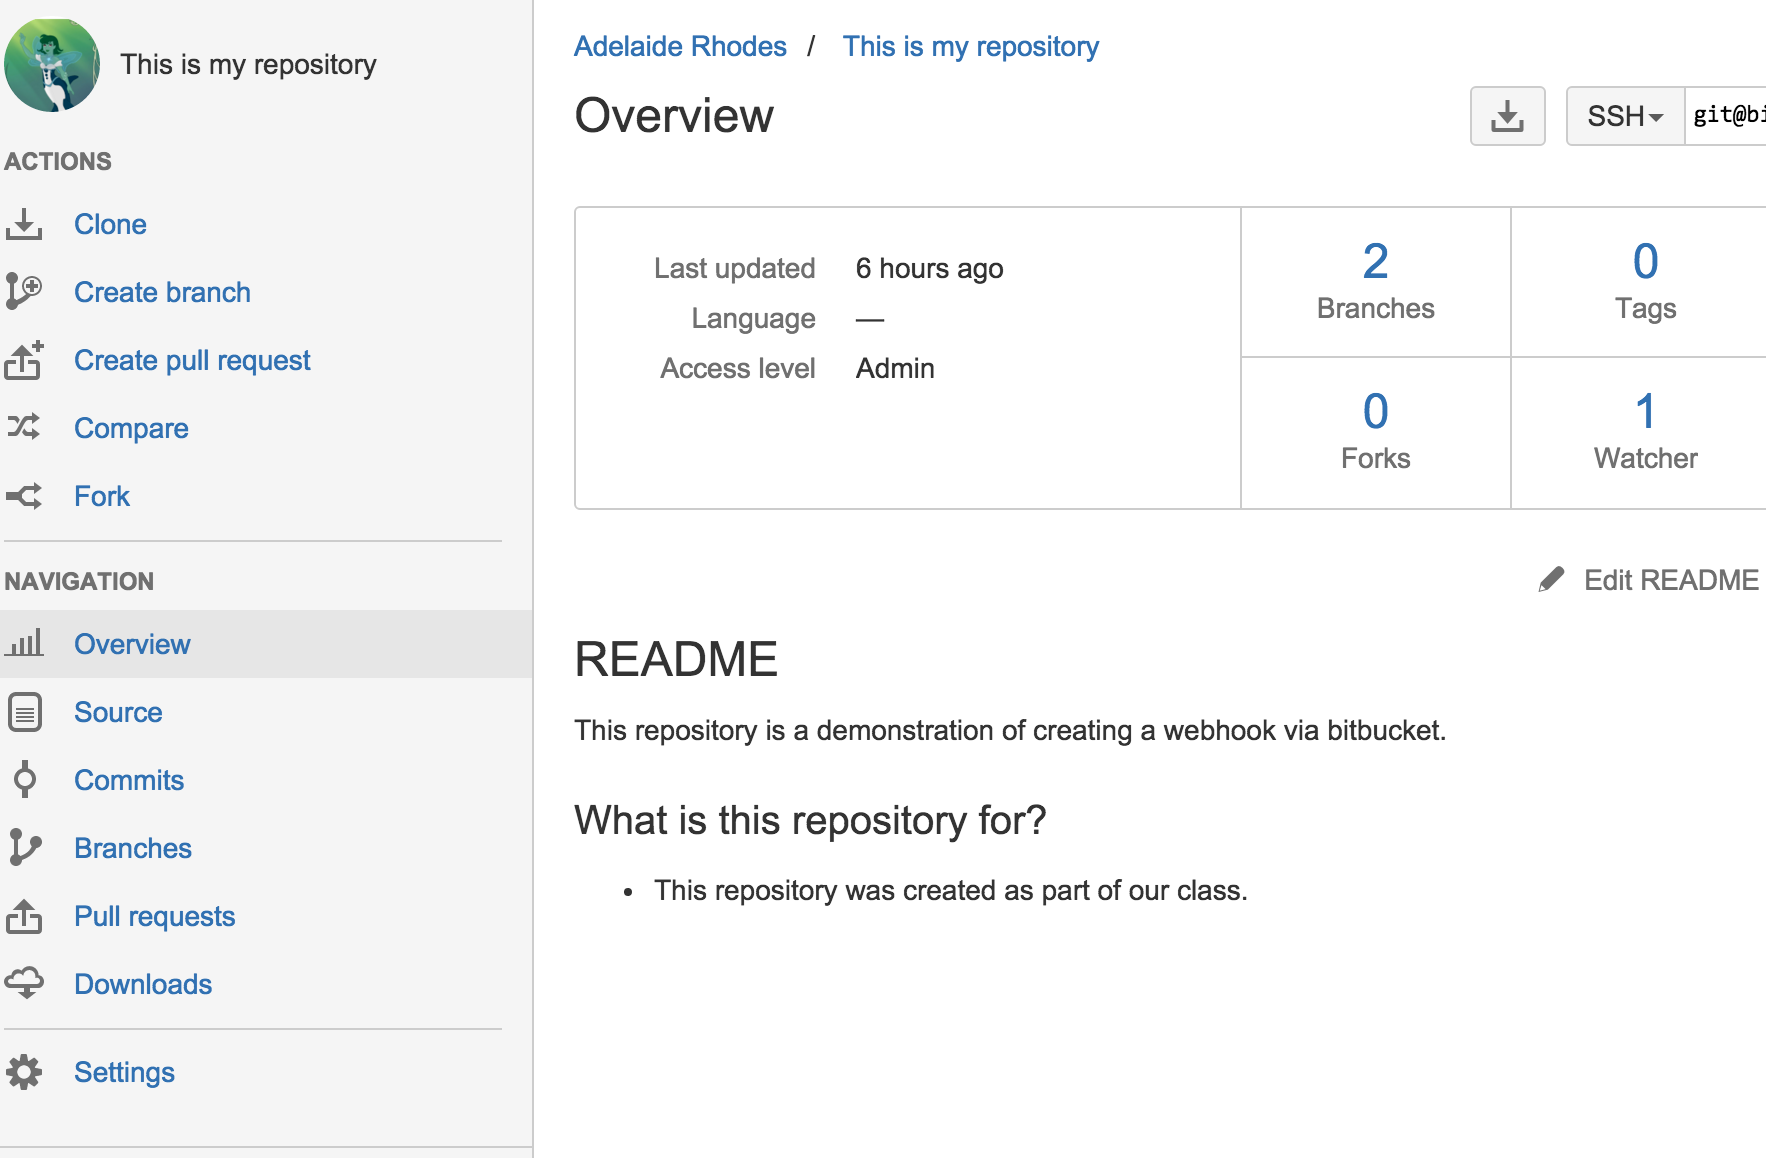
This time, the setting can be found on the lower left side of your repository page. It is a little wheel.
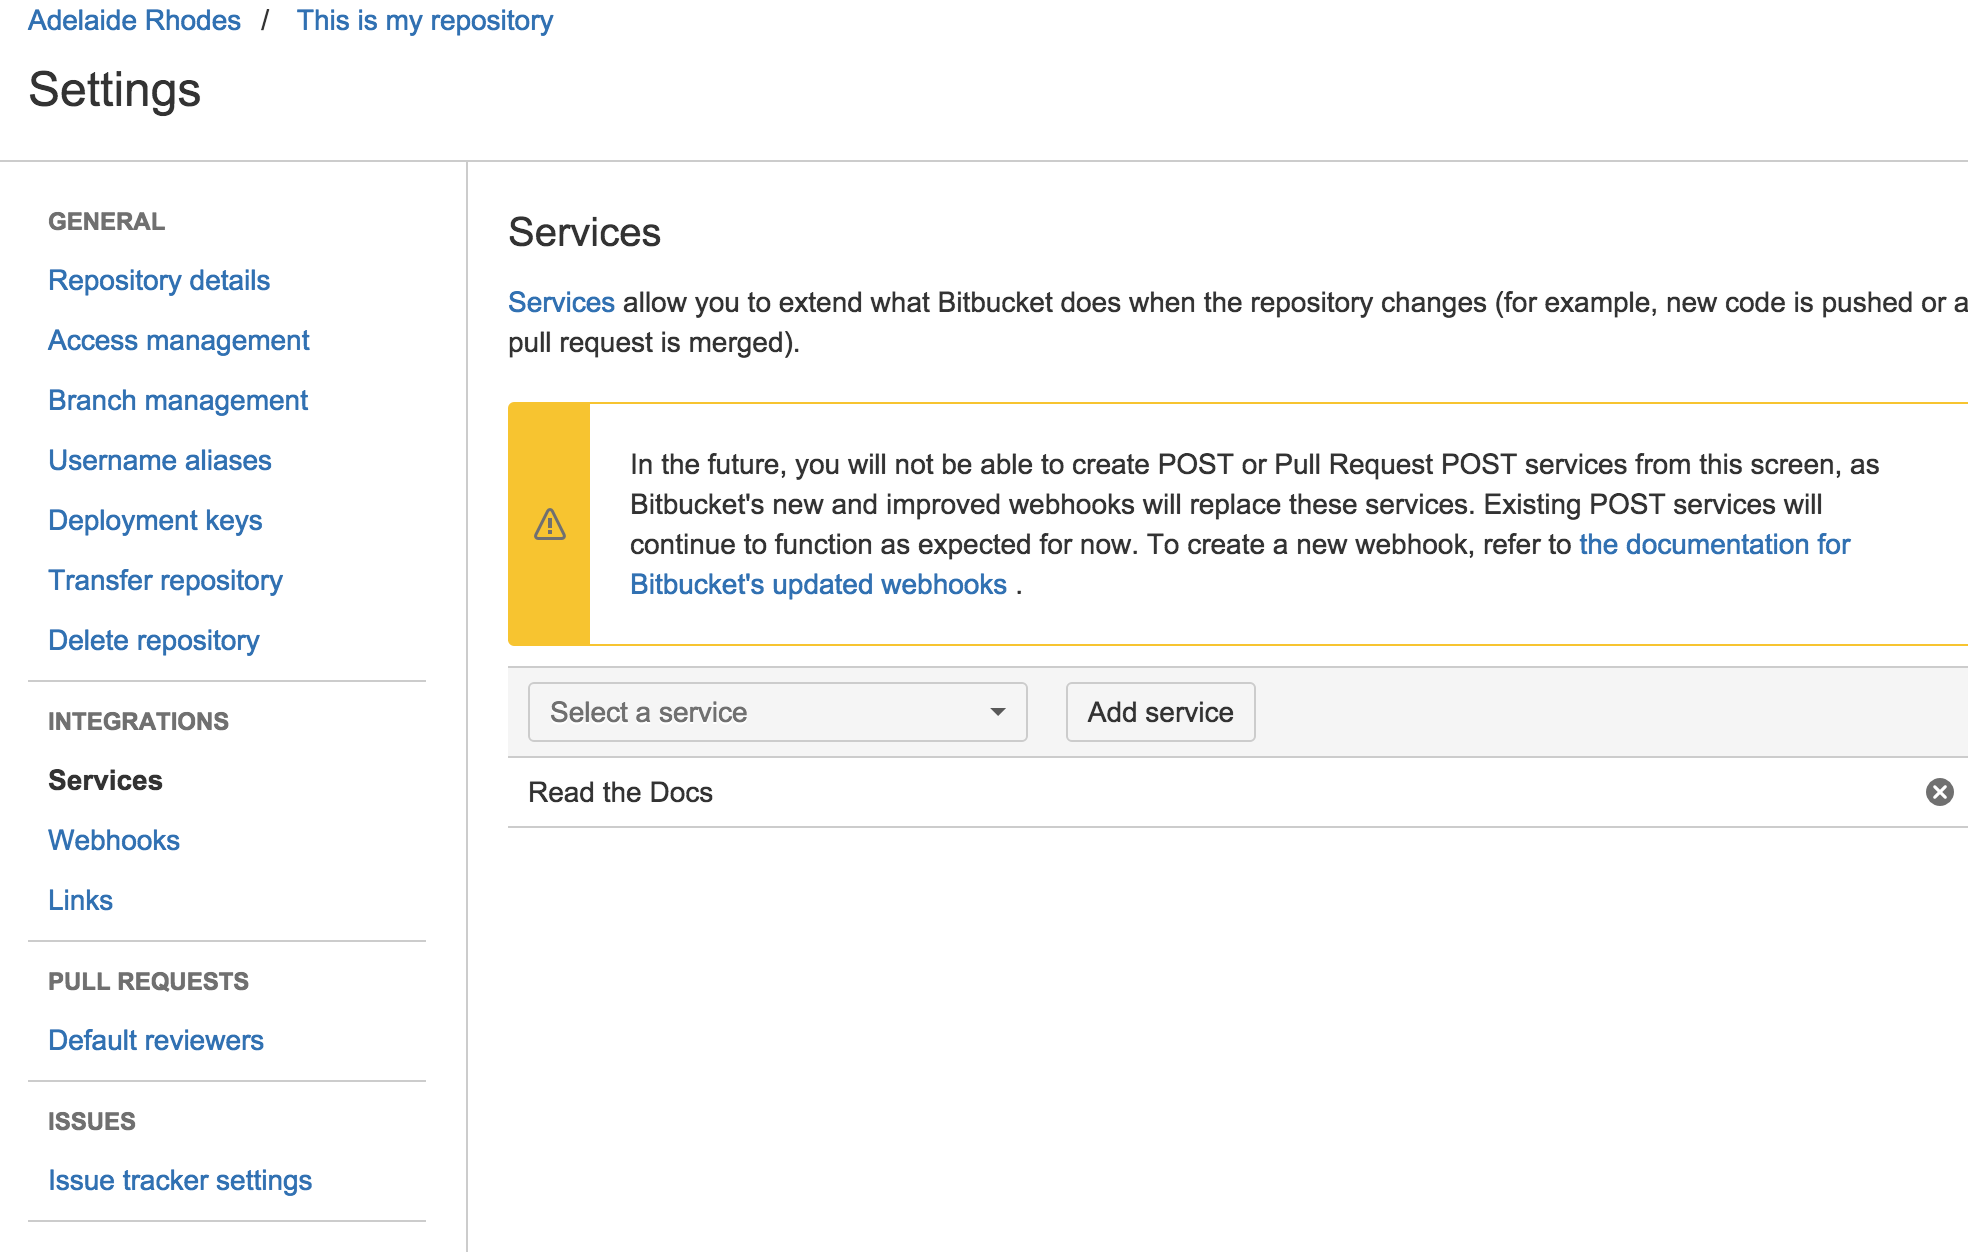
When the next page opens up, find the Services tag under integration, and look for Read the Docs in the dropdown box.
Follow this link to discover how to add sphinx style sheets to readthedocs.org pages: